How to build a tunnel from house to garage? You create a tunnel connecting your home to your garage by methodically creating a sturdy tubelike entrance.
Engineering a secure escape path is a fairly difficult task. For example, reinforcing the walls and floors are vital if you don’t intend to be crushed to death.
Survivalists, Preppers, children, bandits, and anyone who has ever wanted their private hideaway will be thrilled. It is a good idea to build a tunnel from your home to the garage in an emergency.
It is also a ton of fun to put together. Be careful, however, not to let the fun aspects of this project override your better judgment.
Tunnels were first developed for water distribution and sewerage systems, stretching back to the Roman period. However, their earliest usage for transporting was as part of waterway networks in the seventeenth century.
With the rise of railways in the late nineteenth century and vehicles in the twentieth, tunnels got more protracted and more intricate.
Underground construction is no joke. Furthermore, you cannot cut corners if you want to save your life. Doing it incorrectly, however, can have much more severe consequences.
However, I believe everyone should have an escape tunnel built. To that end, I will go over the steps I took to complete this difficult task, along with some cautionary notes. To be successful, you will need to put in a lot of time and effort.
Reasons To Build A Tunnel From House To Garage
In many respects, having an unattached garage may provide many benefits. In general, a detached garage may give you more space for hobbies, activities, or storage, as well as reduce the numerous risks (from weather deterioration or potential fires) that come with having a connected garage.
One of the most annoying aspects of this arrangement is trekking from your home to the garage whenever you want to get in your vehicle, use your workshop, or get anything out of storage.
The whole point of a garage is to offer safe storage for valuables, but if there is no way to get from the house to the garage, the walk-over may become a little tedious.
Fortunately, if you are ready to put an end to the dreaded drizzly walk to your vehicle before you commute to work each day or to avoid getting snowed on every time you need to go out to the garage to work on something, building a tunnel from your house to your garage is a relatively simple project that requires little time, effort, or money.
Creating a tunnel from your house to your garage is a relatively simple project that requires little time, effort, or money.
Also read: How to Get Rid of Mothball Smell in Camper? (Pro Tips)
Things to Consider Before Constructing a Tunnel from Your Home to Your Garage
Digging a hole to connect your house to your garage is a much more involved process than simply digging a hole. To avoid making costly mistakes in tunnel construction, you should consider hiring a highly qualified consultant to assist you instead of attempting it yourself.
As a result, I will provide you with a high-level overview of the fundamentals so that you can begin planning your project.
The process of getting to your bug-out vehicle becomes much more challenging in an emergency such as a home invasion. Fortunately, an escape tunnel leading to the garage provides the ideal solution.
Slipping away to safety while remaining unseen is a brilliant strategy for injury prevention and unnecessary fighting.
Cautionary Notes for Engineers
Please do not just begin drilling at random. You must have the mining rights to the land, and the utility corporations must come to designate the lines.
So think before you shovel, so you don’t produce a tragedy. But, unfortunately, carelessness and thoughtlessness might get you hurt or killed while tackling a massive job like this.
A tunnel from your garage to your house is a beautiful concept when you execute it correctly. However, I have encountered far too many folks who presume that stable-looking soil is the same as a secure tunnel.
Furthermore, you cannot simply bury several shipping crates or culvert pipes to keep the soil back. Slender metal sides that make ideal above-ground dwellings will bow under the strain of tons of soil.
Furthermore, tunnels with little air circulation might become moldy, causing health concerns. Therefore, you will require a means for air to circulate freely.
It’s crucial to cleanse and blow out your emergency channel periodically. In addition, oiling door hinges and eliminating bugs or insects within is critical escape tunnel maintenance.
Preparation for the Construction of an Escape Tunnel
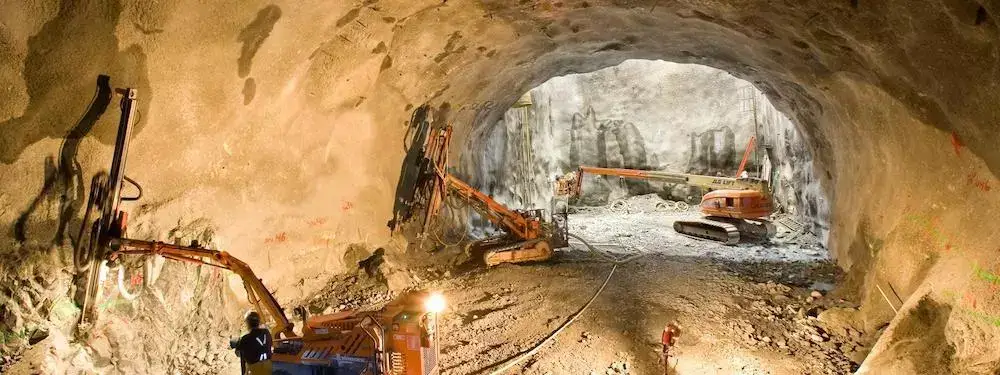
The cut-and-cover technique, the immersed tube method, and the usage of a tunnel boring machine are the most often used methods for tunnel construction.
Before you start thinking about building an escape tunnel that goes from your garage to your home, you will need two items.
First and foremost, you must investigate mineral rights. In certain jurisdictions, excavating soil is considered a criminal offense.
Second, the utility providers must come out and indicate any underground wires that may be in the way of the investigation. Digging without considering hidden electricity and sewage lines is a costly error.
You do not want to be responsible for repairs. More significantly, you will despise the task of cleaning sewage gas and leaking from your newly constructed tunnel.
I propose that you dig a few small holes into investigating what is under the earth in the approximate region where you want to layout your tunnel before you start digging.
If you do not want to put in a lot of additional effort, you will need to avoid any huge trees unless you risk damaging them.
Similarly, granite or clay may be found under the surface of specific regions. Either of them will make it far more challenging to dig a hole.
Recommended: Will A Rope Keep Snakes Away? – Method to Keep Snakes Away
Making Blueprints Before Building Tunnel From House To Garage
A blueprint is a next step. Dig down and cover the ceiling if you want to operate totally under the surface (bland) (cut and cover). Each has its own set of difficulties.
An open pit is more vulnerable to the weather and passers-by. In addition, you need to prepare ahead of time for how you will handle it during your employment. However, working from the surface down is more convenient for a newbie.
It is easier to keep your identity secret if you work entirely underground. However, it is also riskier, which is a shame. Bracing yourself while working in underground construction requires a lot more effort.
Take your time and carefully measure the distance. Having a method to illuminate your path will require the inclusion of doors, vents, and even electrical conduits.
As far as long-term illumination goes, I would stay away from candles, matches, and any other open flames.
Sadly, flashlights may be misplaced or destroyed, and batteries can run out. Flames, on the other hand, consume oxygen. With wood-paneled walls, fire is hardly an ideal situation.
You can use fairy lights as a cheap and safe method to illuminate your tunnel to maintain vision. HXWEIYE 300LED Fairy Curtain Lights. It is USB powered, and you may connect it with your USB charger.
It is appropriate for a number of lighting settings, even in camping or BBQ. You may plug it in a socket and turn it on and off using a switch.
Cut & Cover Vs. Boring
Your budget and ability will determine the approach you choose for this project. For example, using your hands to dig is an exhausting and time-consuming task. However, in the cut and cover method, moving downhill is significantly simpler than moving upward from the surface.
Given that you will not be required to brace the roof as you go, this is the ideal strategy to use if you do not have access to expert assistance.
A boring machine may also operate below the surface of the ground if your budget is more significant and you can afford one.
Subterranean tunnels may be constructed from scratch. However, it will require more time and supplies to do it safely and securely.
As you work, be sure to reinforce and strengthen your dirt ceiling using wire mesh, boards, and other ways as you go along.
Mophorn 980W Magnetic Drill Press can be bought for your boring needs. This compact drill press delivers very high power owing to its 980W copper motor.
It is effective for drilling even the most complex materials at 680 RPM. Manufacturing and steel construction, boat or bridge building, railroad manufacturing, wind power generation or construction of power plants, home renovation, equipment installation, and many other fields will benefit significantly from this magnetic drill press’ versatility.
Another method to use with this strategy is to break it up into small chunks. For example, you could work on a segment of two to four feet in length at a time, completing development on each component as you went.
Regardless of whether your walls are made of concrete or wood, you will need to make provisions for humidity sealing on the exterior of your structure.
Flooring And Safe Bracing
It is critical to choose whether you will put flooring down or leave the ground bare before you begin. Using cement will necessitate rebar, which will serve to support the structure.
The choice of whether to set wall planks into the cement or whether to add flooring after you complete it is equally significant.
You will need to verify your local construction regulations to determine what underground walls are required in your area. To avoid creating a sub-standard tunnel, following all applicable construction regulations is essential.
It is no laughing matter to be responsible for retaining tons of debris and mud. Instead of attempting to access bank vault-like TV villains, you must first construct a framework to keep your tunnel in position before you can begin building your tunnel’s final walls and roof.
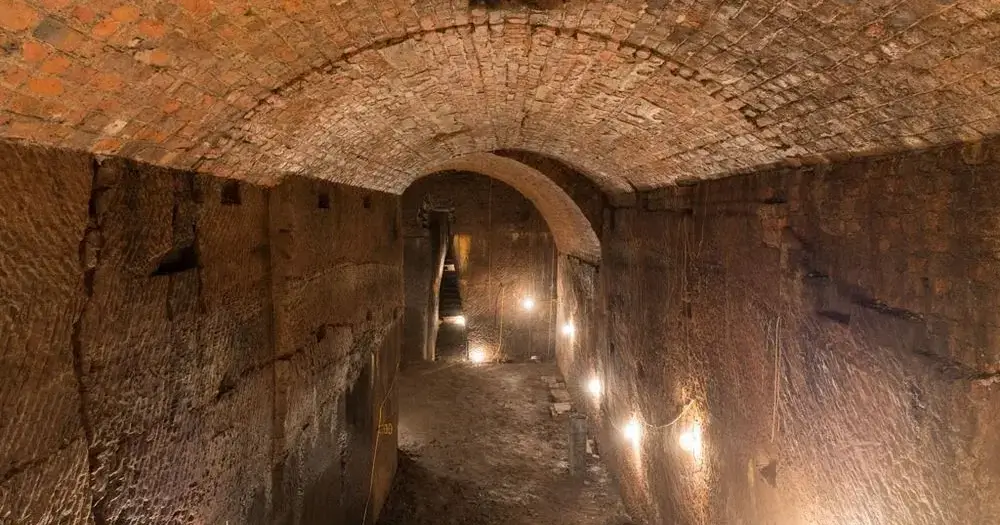
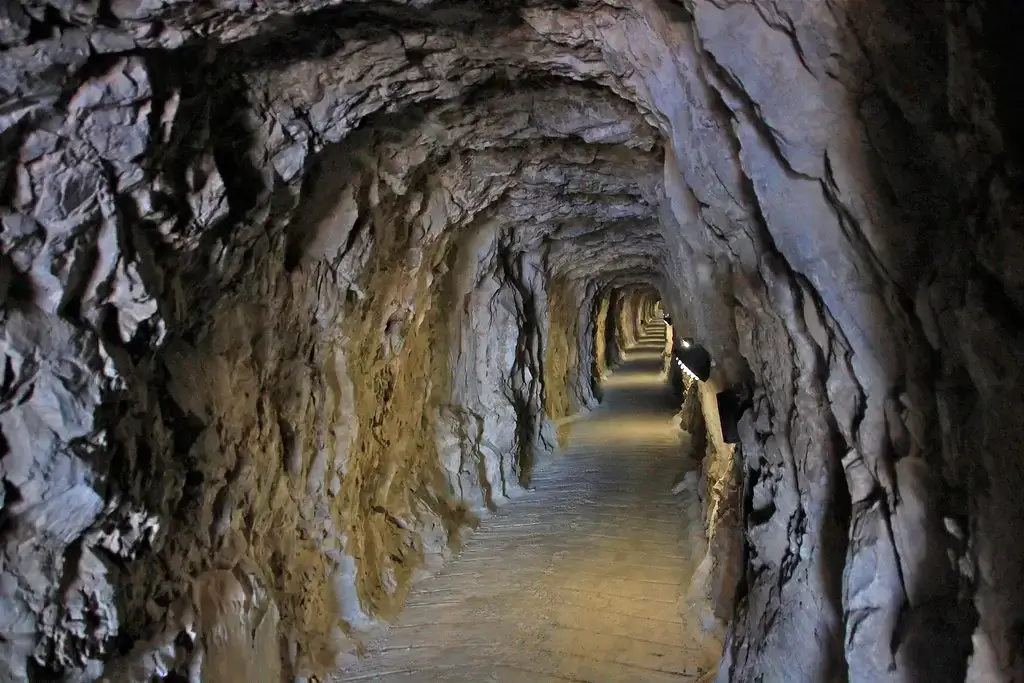
Roofing and Airflow
It is necessary to have excellent roofing unless you are drilling directly through smooth rock, which is quite unusual. Making robust and load-bearing roofing over your head is considerably more straightforward if you slice and cover your wood.
On the other hand, Vents may be required for circulation in any case.
There is a problem with airflow unless the distance is so tiny that you do not need to build a tunnel. Mold may be prevented by installing ventilation systems that move air. However, it is more crucial because it ensures the capacity to breathe.
Try VIVOSUN Ventilation Kit for the ventilation needs of your tunnel. Indoor grow tents and hydroponics grow rooms benefit significantly from using a carbon filter since it reduces odors, particles, and other toxic byproducts.
Escapes & Entryways
You will need to ensure oxygen since it is better to have well-sealed, locked doors at both endpoints of your escape path. If you have intruders on your back and a closed door in front of you, you may need to hide for a while until they leave.
The survival tunnel layout should also include keeping both entrances well concealed and easy to strengthen.
Make sure your garage is clear of anything that might obstruct your exit. For example, you do not want a floor panel with an automobile on top of it. Regrettably, this transforms your escape path into a tomb or, at most, a lengthy basement with a single exit.
Tunnel Upgrades for the Garage-to-Garage Escape
A principal tunnel connecting the home to the garage should be included in your plans, but you should also consider adding a few other elements. At the heart of the journey is a basic, tight passageway. Multitasking is vital for a survivor, though.
It is a great place to keep your bug-out bags. Making sure they are hidden but still on your escape path is cunning. Avoid removing BOBs from the upper floors of your home if that is how you usually maintain them.
Instead, have a second pair in your escape tube as a fallback plan. Keep them close to the garage door’s end for a quick exit.
The tunnel’s width should be increased next. Oftentimes, people imagine a small, cramped area where they must kneel to go about their business, yet this area must be long-lasting.
After all, it is a means of egress. Choose a space that is at least 4 feet wide and high enough so that you can stand up straight without stumbling.
You may have to relocate a wounded family member or close friend. Aging will also alter the way you walk. You will need a lot of space to turn around and become comfortable while sitting down.
Ultimately, this corridor might be used as a fallout shelter or backup. Inexperienced survivalists might benefit significantly from locations that can serve various purposes.
In addition, if you will be shoring up the walls, consider installing shelves.
Many individuals do not consider storage space that is easily accessible in an emergency. However, if you do not already have one, food and other supplies may be kept cold and dry in this place.
Similar requirements apply to fuel, cells, and other non-foods as well. This backup cache makes it easy to grab and go if you already have storage.
An exit branch from the tunnel is convenient for getting to a climate-controlled root cellar if you build a complete bunker.
Even if a long-term survival strategy is implemented in pieces, it may still function as a unit. Not having to build from zero also saves you both time and money.
Conclusion
How to build a tunnel from the house to the garage? Well, it just takes a creative mind and the right kind of motivation to start. After that, it’s just a matter of following steps or hiring professionals to do it. It can be either.
Careless or ignorant people cannot build an escape tunnel. A lot of physical exertion and investment in high-quality materials are required. Imagine it as a submersible. When it comes to your health and well-being, you do not want to take any chances.
Building a tunnel that will last for decades or even generations with proper planning and engineering is possible. In an attack or even a fire, an efficiently designed escape route can be a lifesaver. In the event of a storm, you can take shelter in the basement.
Include functionalities that you do not need right away in your design. For example, additional space, wall shelves, and channels for electricity are all good complements to your tunnel.
